Elf On A Shelf. . .Without The Elf
Another homemade Christmas story. Earlier this week I talked about making footlockers for my kids, and toy letters and blocks for my grandkids. My pre-Christmas workshop wasn’t just buzzing with kids’ gifts. I also found time to make presents for my son-in-law.
In our family we draw names for Christmas. I drew the name of my son-in-law. He’s a pilot. But, he’s also a hunter and rancher. I decided I would make him a shelf.
I know what you’re thinking.
Must suck for Rodney to pick your name at Christmas.
But, this wasn’t an ordinary shelf. I wanted to make him a special shelf, one with a hidden compartment. I searched online for plans. I found some references to plans, but without paying out more money than I wanted to, I was stuck with just pictures.
So, I did the next best thing. I created my own design. I design nearly everything I build. It’s the only way I know how to build. And it means I still have the designs years later for shelves, book cases, even simple designs.
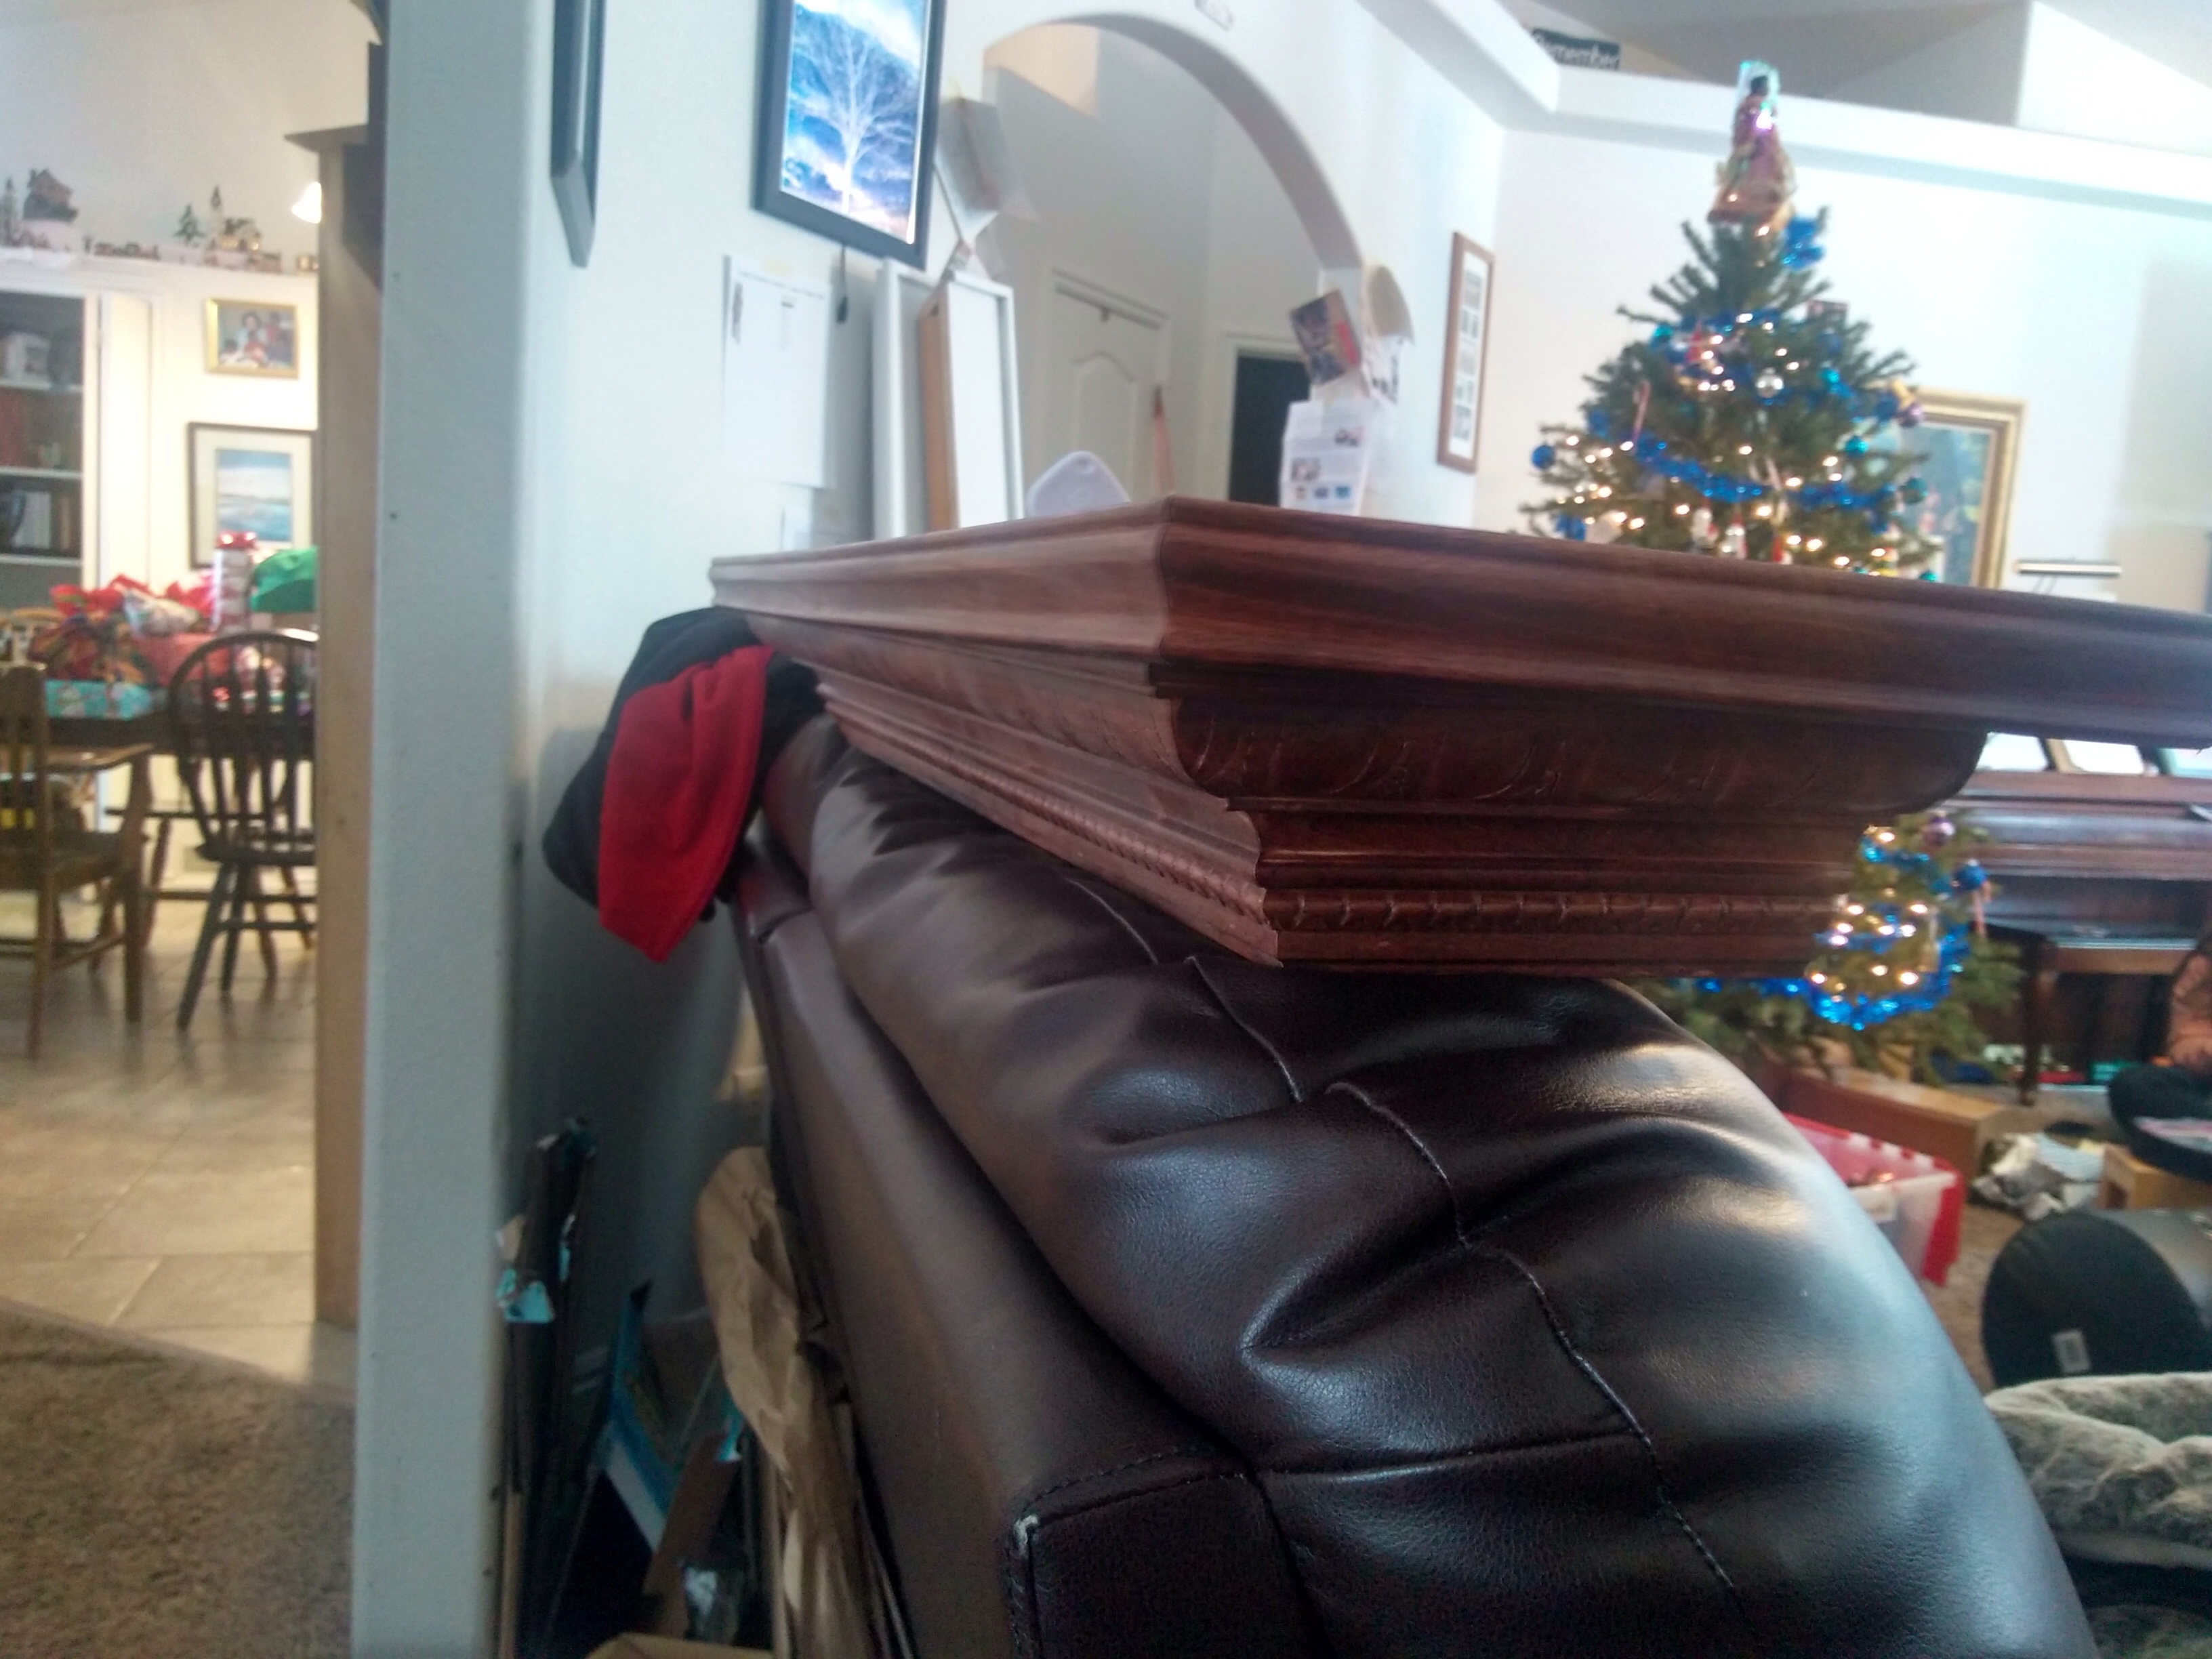
This shelf uses crown molding to give it a unique profile. It took a fair amount of work to calculate the angles and get the corners just right. It turned out pretty well. In fact, it was impressive especially to my lovely wife.
That’s great. That’s just like the ones I want for the living room!
Spoiler alert. When your lovely wife says that something is “just like what she wants” you need to get that in writing.
Well, I want it narrower, and I want a lip on the front that will keep the pictures from sliding off. And white rather than stained.
She even sent me a picture of one she saw in a store. Actually it was a picture of two shelves. Make very sure you identify the right one.
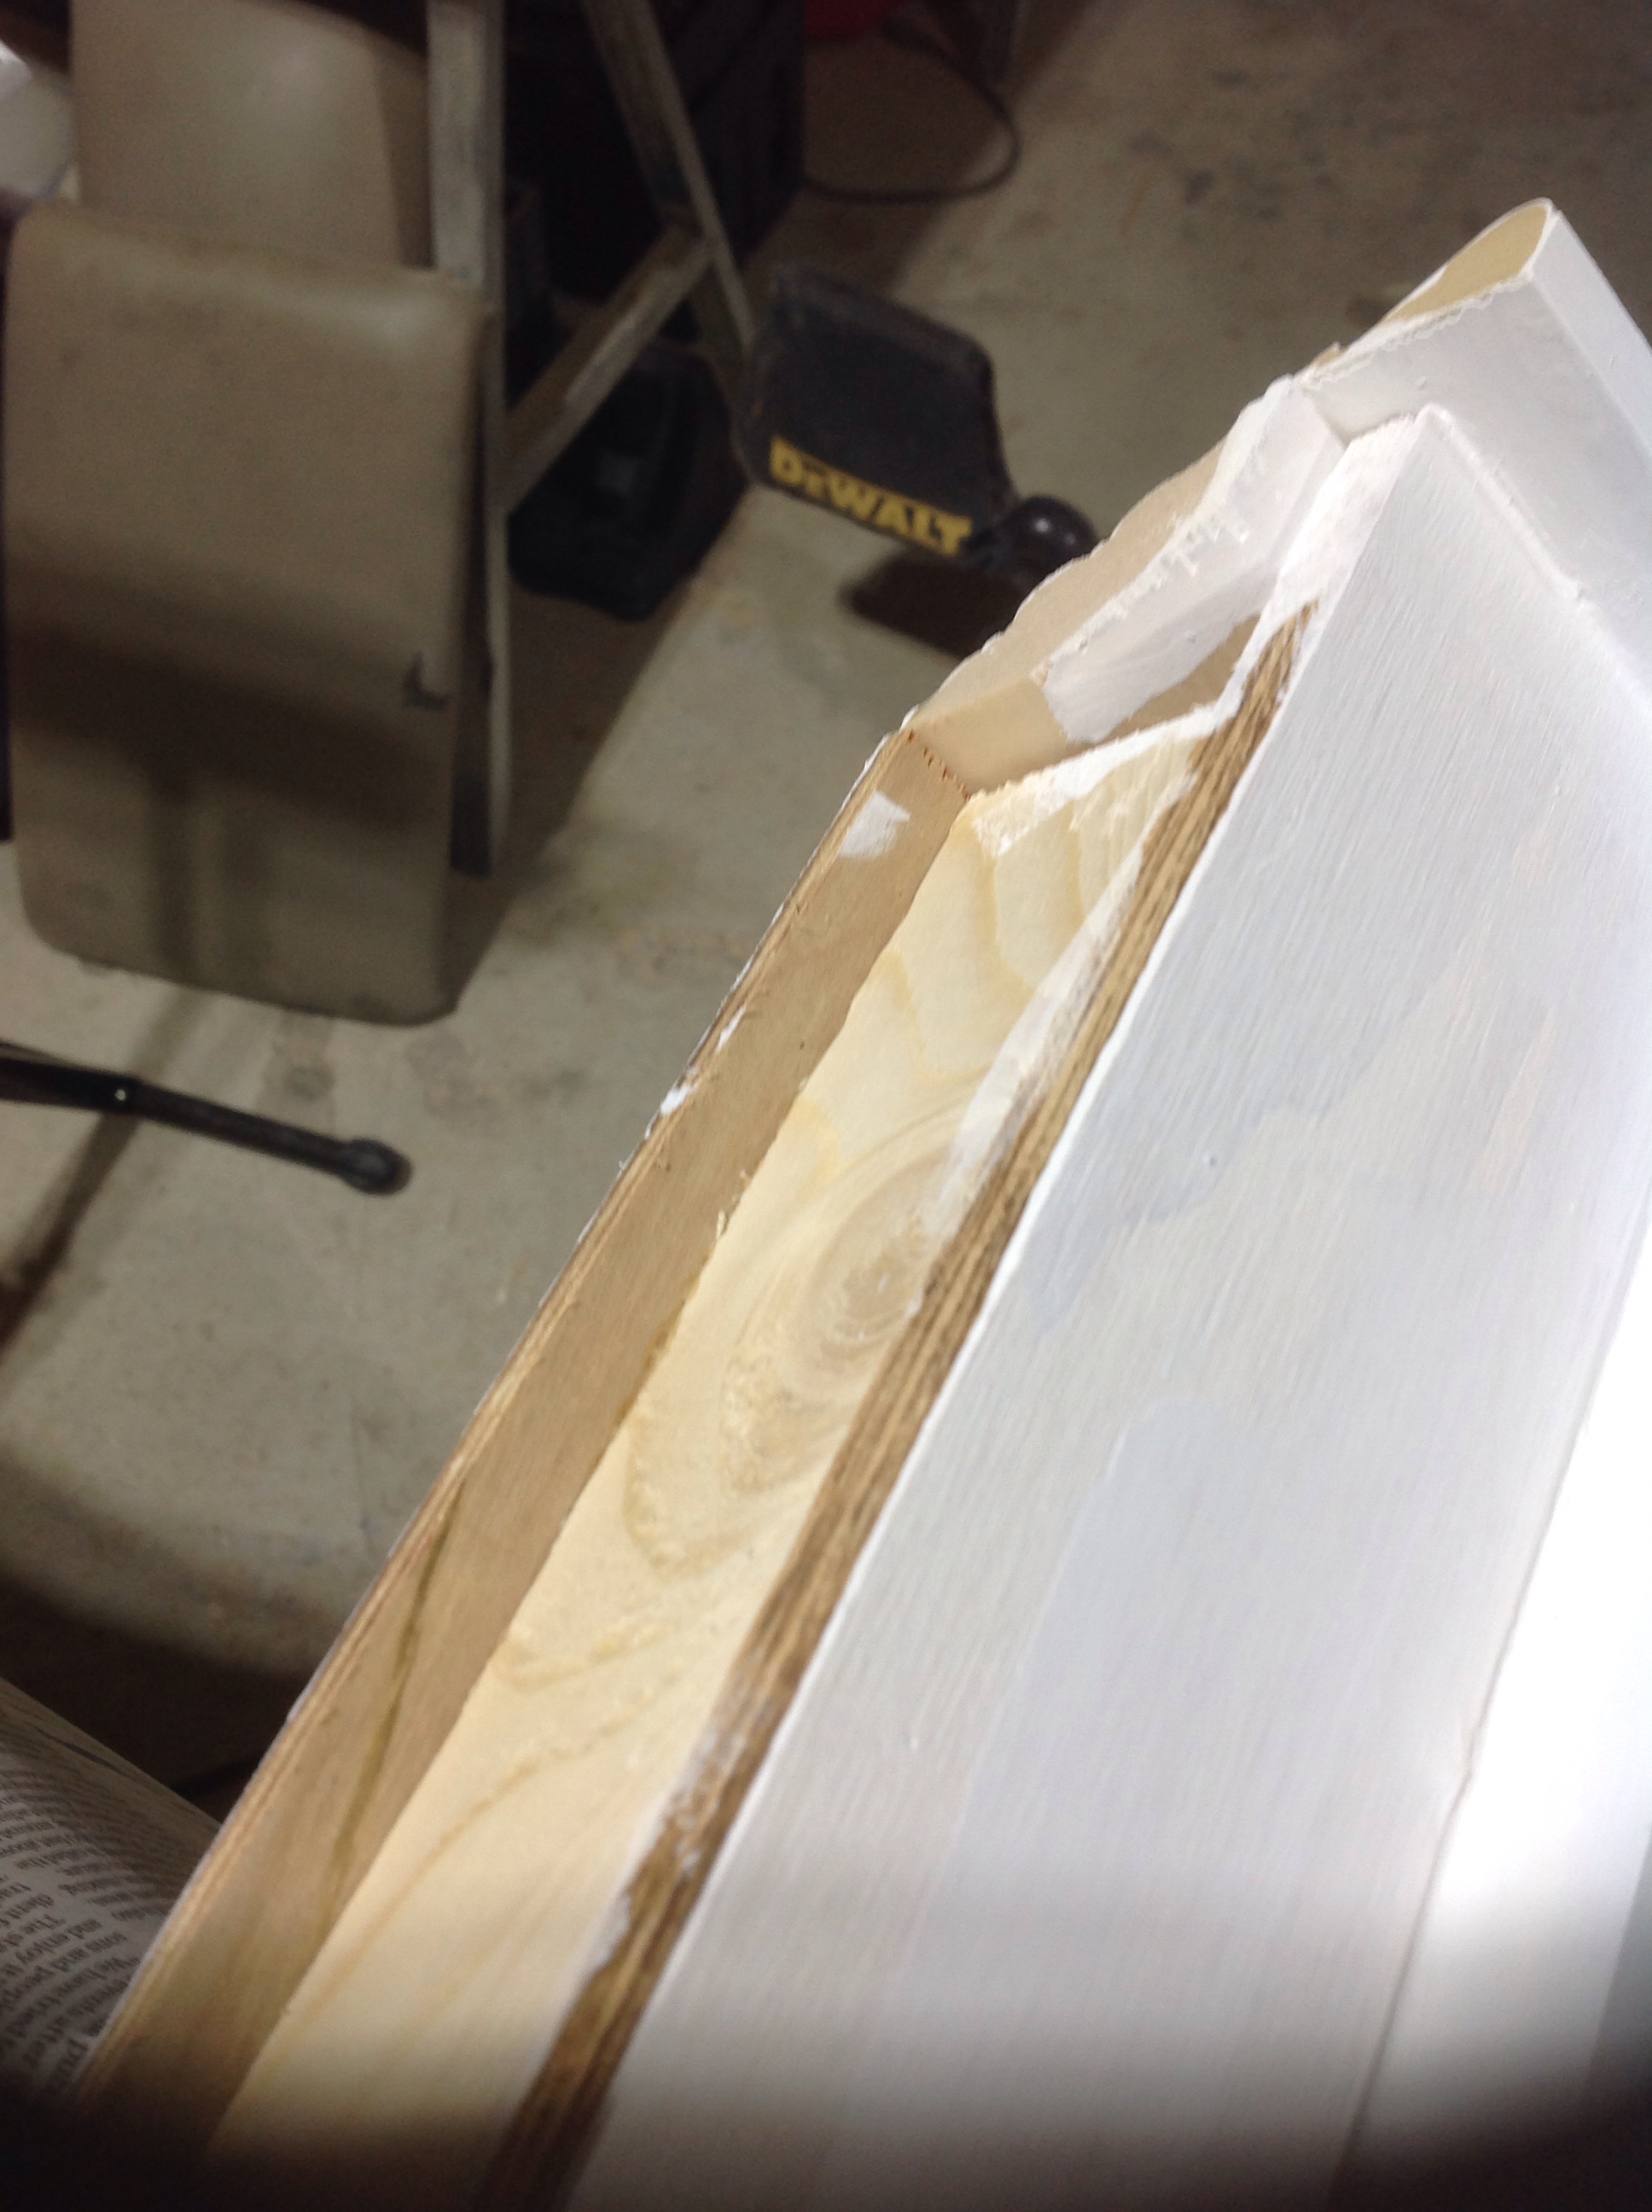
So, I took my new design and modified it. I used 3/4″ particleboard for the base. That’s a pretty heavy wood. But, I like to over-engineer my projects. I call it the “Helicoptor school of building.” Basically, I build everything so that a helicoptor could land on it. Having a heavy base, I needed quite a few support pieces integrated into the design. I worked to make the shelf strong while still appearing light.
The shelf is called a “floating shelf.” It’s designed to look like it “floats” on the wall. Let me tell you, there’s a lot of wood, heavy wood that fits into that lightweight looking design.
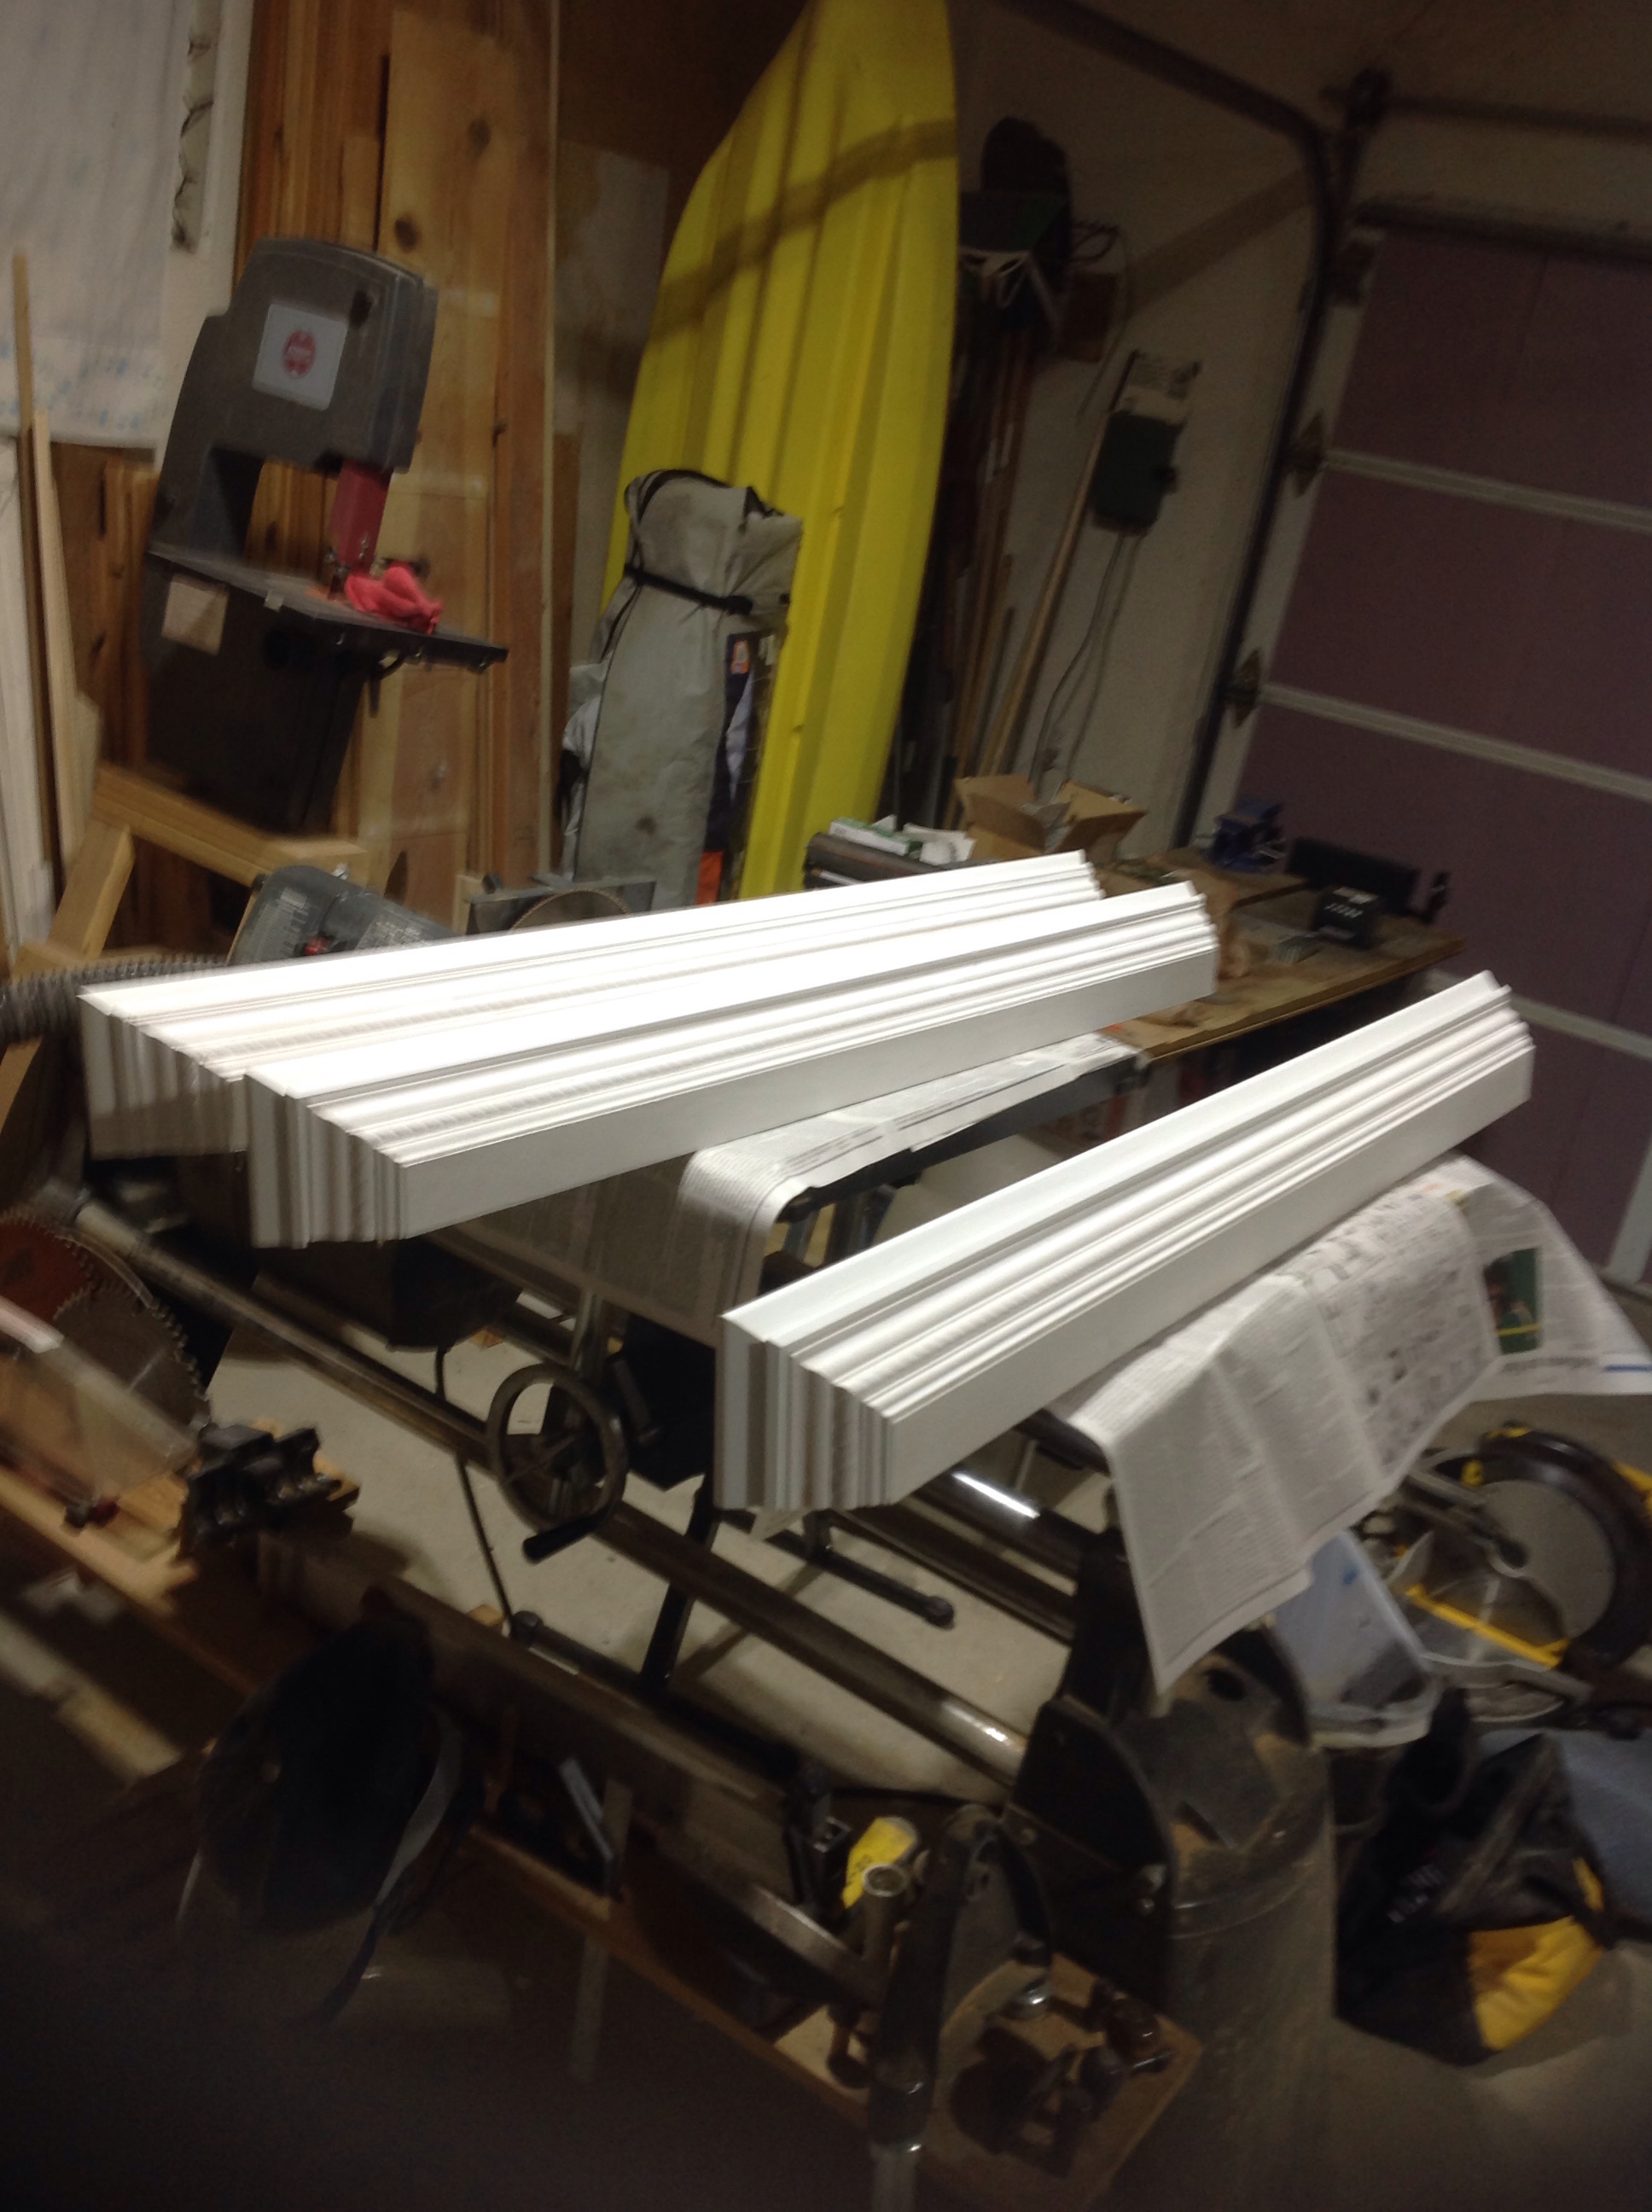
So, I built the prototype of the shelf for my lovely wife. As I was putting the finishing touches on it, I showed it to my wife. She literally did a “happy dance” next to my table saw.
It was still a couple weeks before Christmas. And I knew that I was going to have a gift that was exactly what my lovely wife wanted. Only occasionally have I managed to hit a Christmas homerun. But, this year I think I really nailed it. The next two shelves flew together. I didn’t even mind painting it. Generally I can’t stand painting.
And if she knew what she was getting before Christmas morning, that knowledge was tempered by the fact that it was exactly what she wanted.
You see where this is going, right?
Everything was going according to plan until I started to put them up on the wall.
Can you make them removeable?
What?
You know like a picture. So we can take them down off the wall.
Ah. . .they were really designed to attach to the wall.
But, you CAN make them removeable, right?
I suppose. . .
Here’s the thing about designing a shelf, especially a “floating” shelf. You have to think about weight and angles. That floating shelf is going to put a lot of pressure on the screws or nails holding it to the wall. I had a nice 1×2 along the back of that shelf. That’s plenty strong to hold the shelf to the wall.
But, a hanging design is very different. Instead of securing it to wall stud, you now have to consider the downward pressure on both your nail and the hanger on the back of your “picture.”
But, a shelf is different than hanging a picture. With a picture, all the weight, or most of it, is below the point you are hanging from. You get very little pull away from the wall and all the pressure is downward.
But, when you try to hang a shelf, all the weight is above or in front of the hanging point. And that exerts a force. A lot of pressure. And that pressure is trying to pull the shelf away from the wall.
I got some heavy duty picture hangers and attached them to the back of my shelf. I then very gingerly hung it on the wall.
It held. . .sort of.
It fell down the first time I even bumped it. The nails pulled out of the particleboard with ease. So, I reattached the hangers using screws and I attached it to a stronger piece of the shelf.
Again, it held. Sort of.
The issue now was that the back of the shelf was designed to fit flush against the wall. But, instead it had these picture hangers stuck on the back of it. Each shelf tilted down at a dangerous angle. I tried putting some rubber cabinet door stoppers on the bottom corners. The correction was slight at best.
So, my Christmas present that I had designed exactly like my lovely wife wanted, and that she had even signed off on the prototype, was broken. The real solution? I needed to rework the design. I needed to cut 5/16″ pieces of trim that I could attach to the bottom corners of the shelf. In addition my lovely wife asked me to add a bottom panel to the shelves. All the carefully planned supports that I’d attempted to make strong and stylish were now going to be covered up. Fortunately, I could use that new bottom panel to also extend it back past the picture hooks, helping to push the shelf up.
After several weeks, a lot of reworking and more paint,(I hate painting) my reworked shelves were once again on the wall. The extended trim and baseplate now made my shelves properly float perpendicularly to the wall.

I even added a clear topcoat to give it an extra shine.
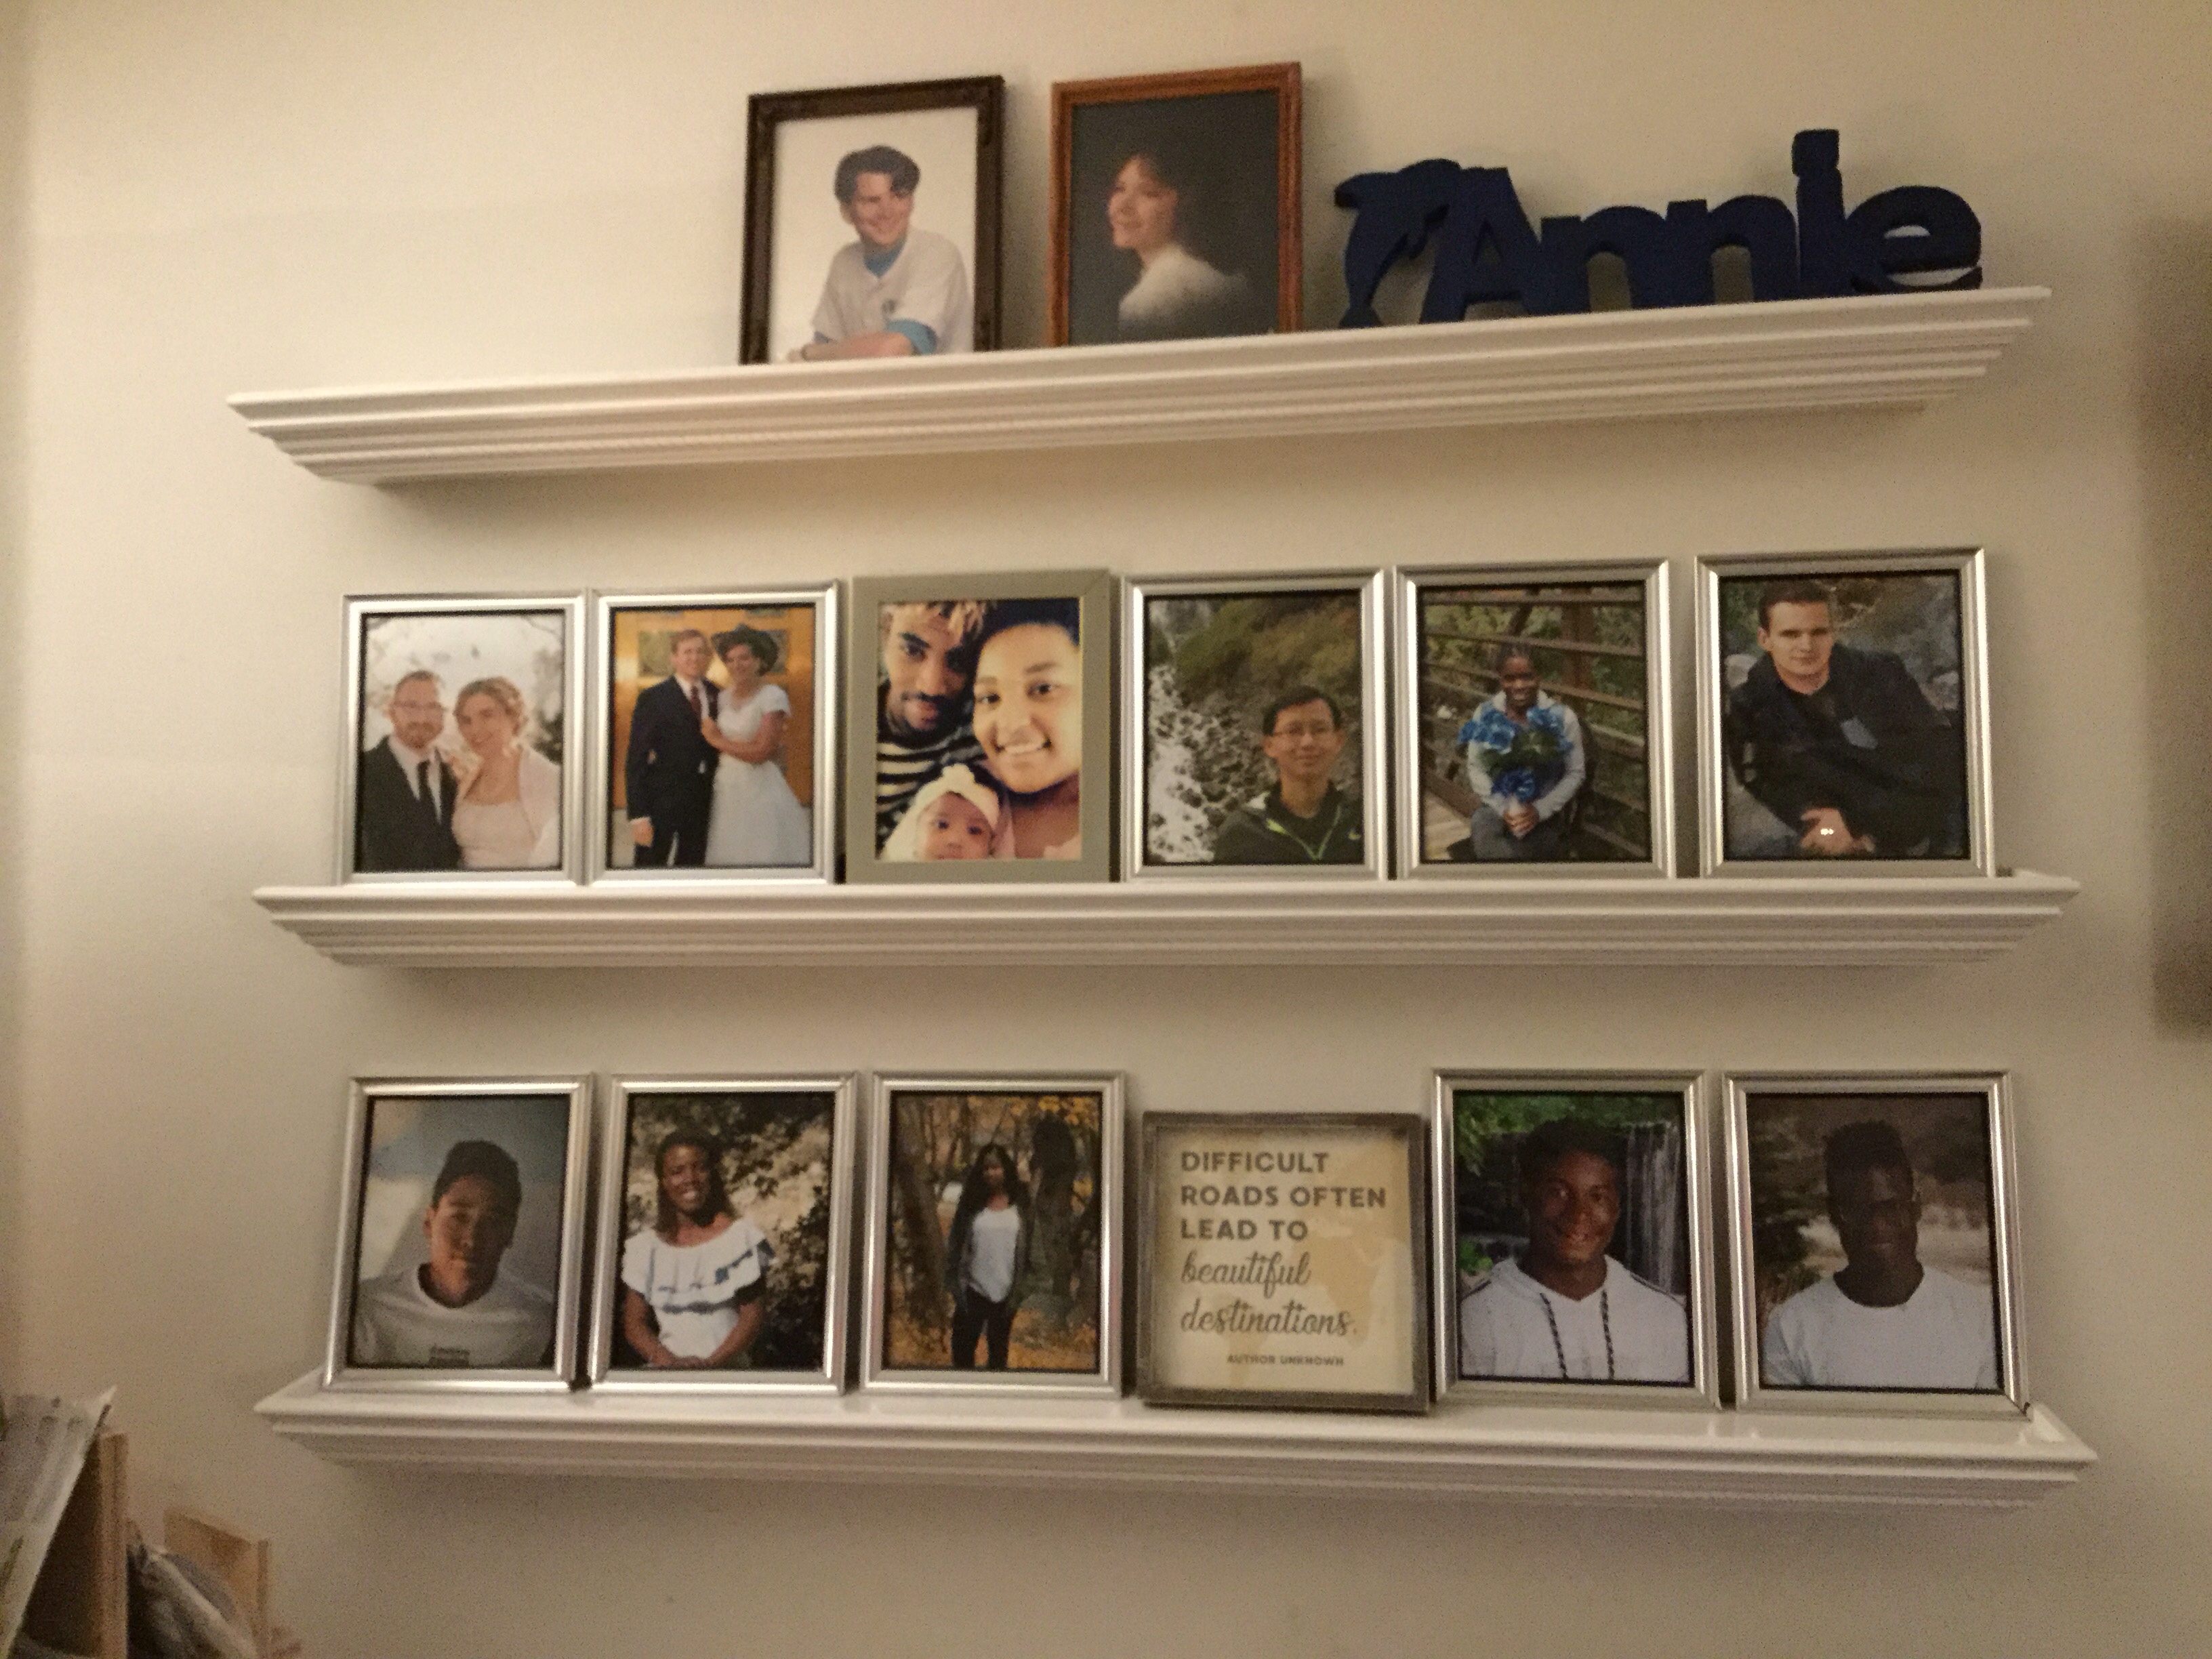
My lovely wife really does like the shelves. In fact, she wanted three more for another wall in the living room.
The new shelves? They are narrower, they are using 1/2″ plywood instead of 3/4″ particleboard.
They also are designed from the beginning to hang on the wall, so the trim and baseplate extend back beyond the picture hooks.
I learned an important lesson. One that I already knew. Always get your client to sign off on your design before you finalize it.
And I have the perfect Valentines Day gift lined up for this year. I think I really nailed it this time.
Rodney M Bliss is an author, columnist and IT Consultant. His blog updates every weekday. He lives in Pleasant Grove, UT with his lovely wife, thirteen children and grandchildren.
Follow him on
Twitter (@rodneymbliss)
Facebook (www.facebook.com/rbliss)
LinkedIn (www.LinkedIn.com/in/rbliss)
or email him at rbliss at msn dot com(c) 2020 Rodney M Bliss, all rights reserved

Trackbacks & Pingbacks