I Broke My Daughter’s Car. . .I Didn’t Want To, But I Had To
I didn’t want to. I really didn’t. I tried everything I could think of to avoid it. In the end, I had no choice.
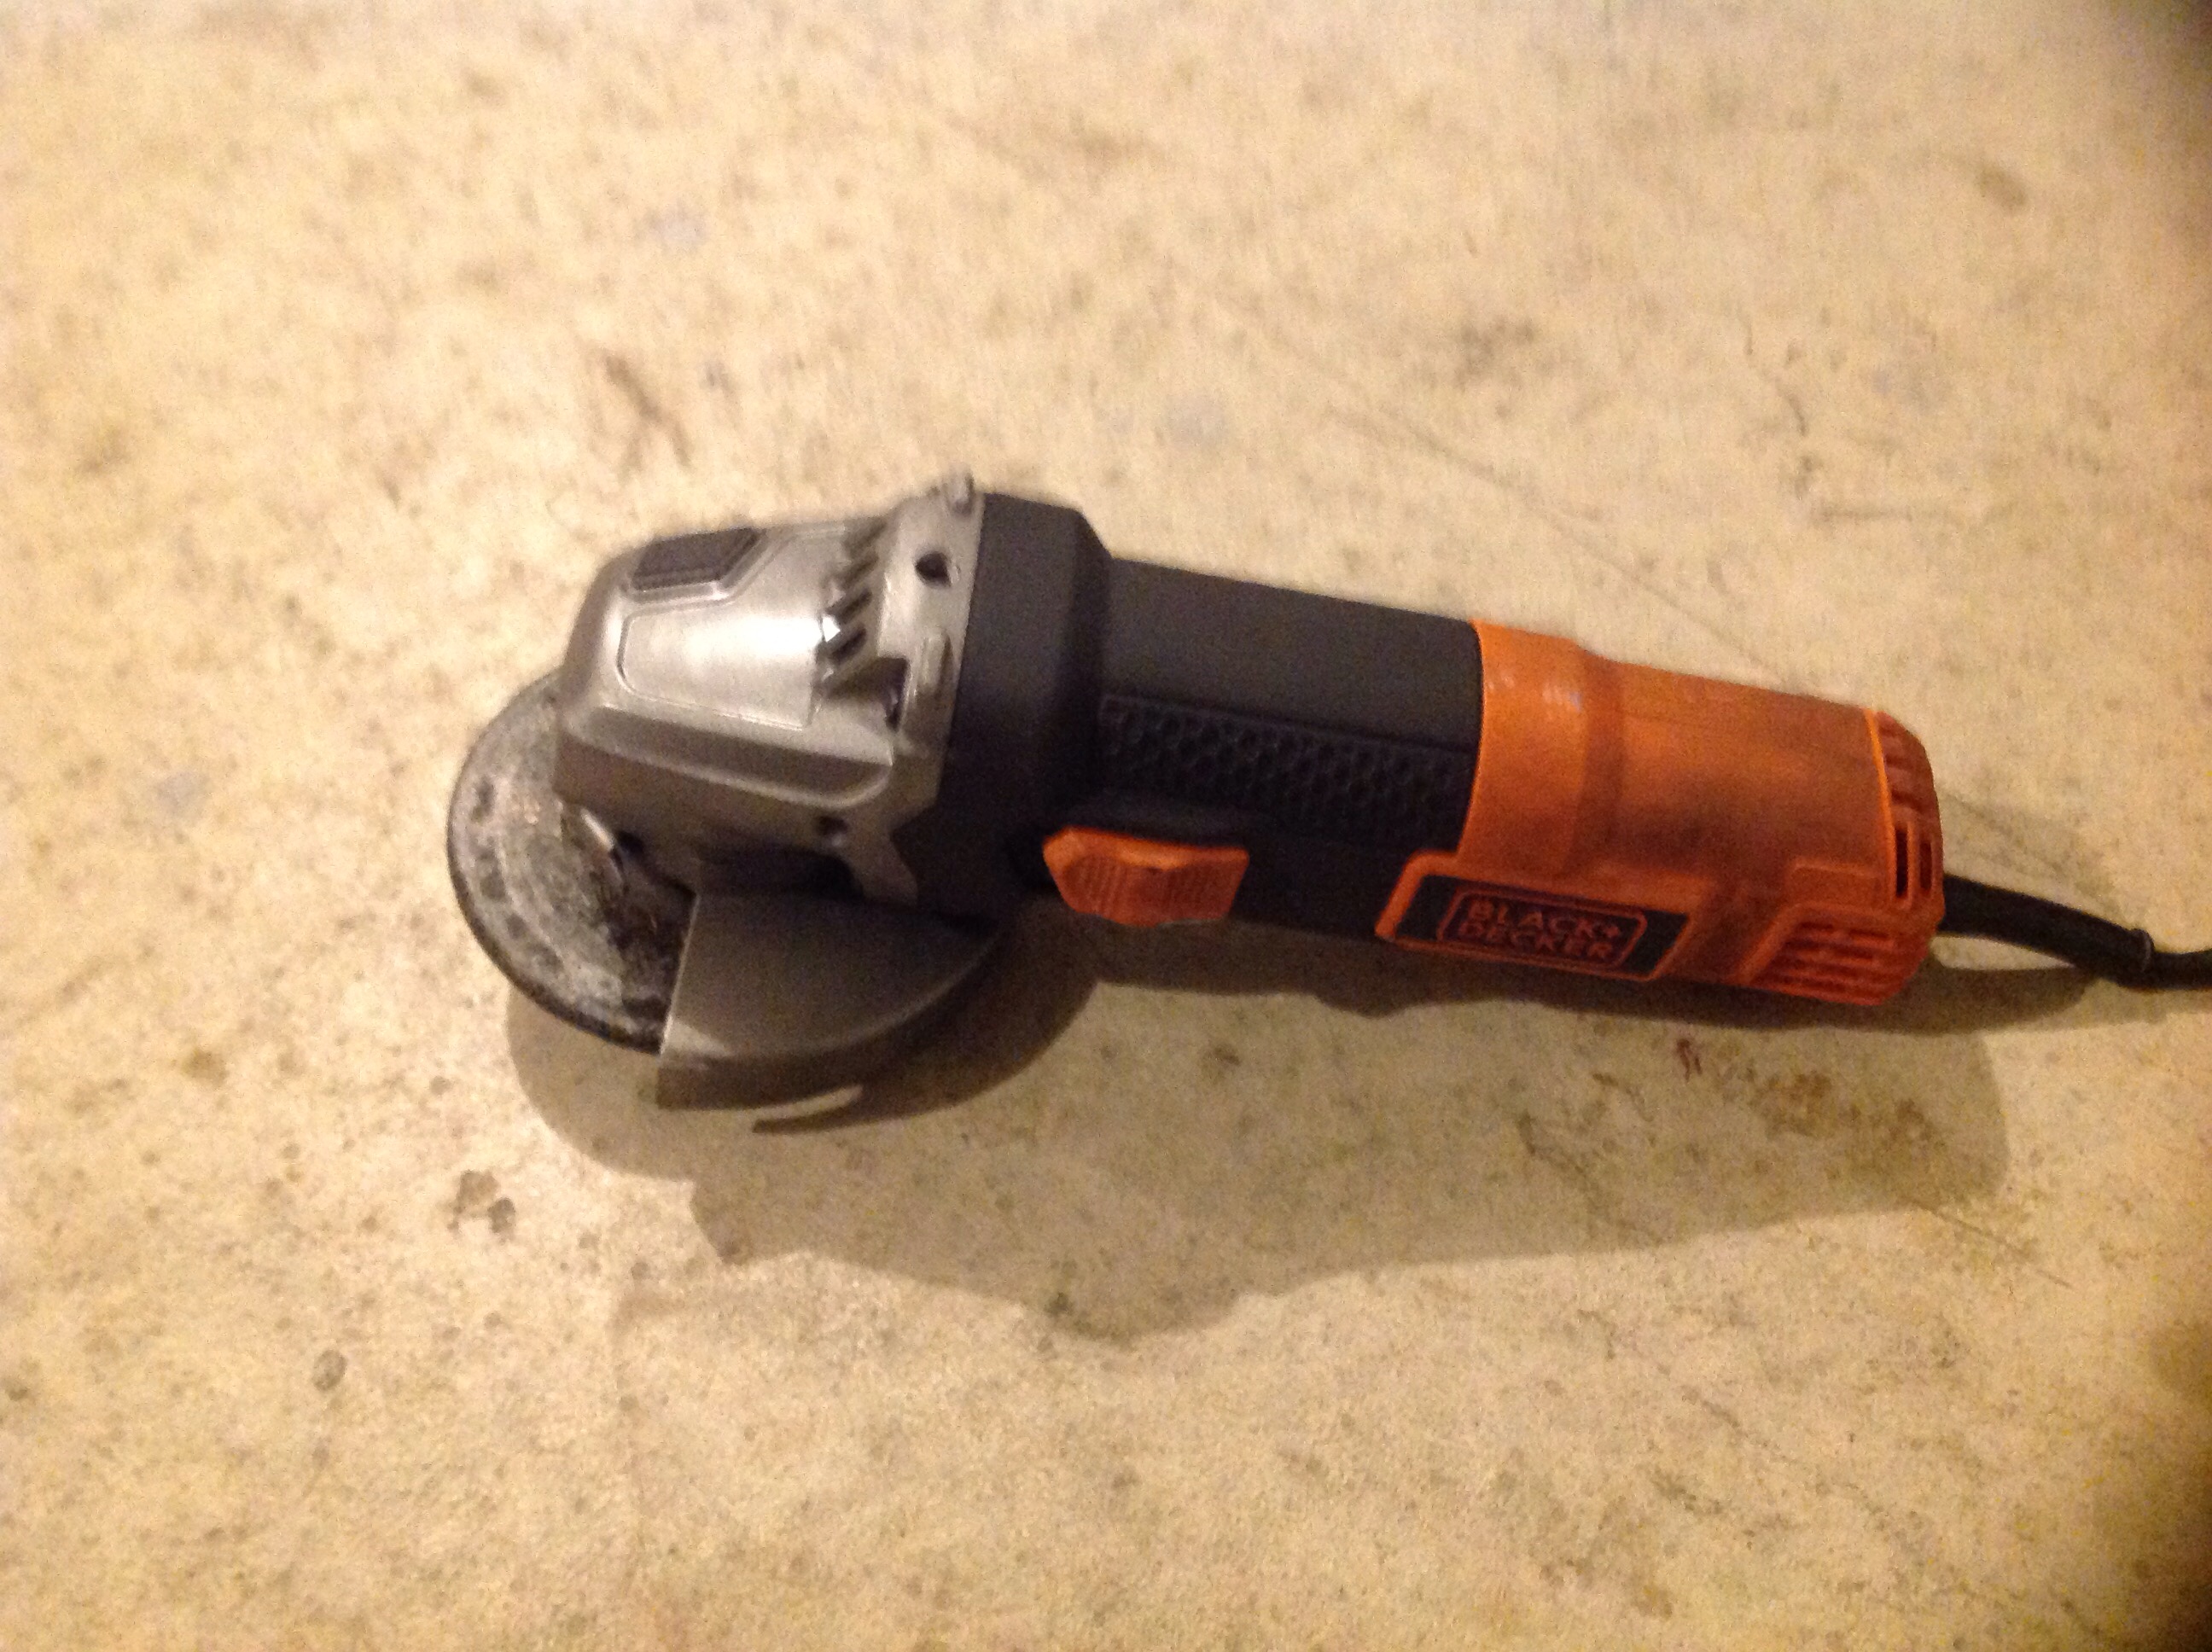
This is a grinder. It’s kind of like a circular saw. But, it’s for metal. It can saw through metal, but it can also “grind” down metal.
Grinders have one purpose, to fix mistakes and break things.
If you have to grind your weld to make it look good you are a grinder not a welder.
– Welders everywhere
I bought the grinder when my daughter had a minor car accident and I had to cut a top radiator support bracket out of a car at the junkyard to install in her car. I also used the grinder to cut the mangled one out of her car.
Like I said, it’s for mistakes.
I recently helped my daughter check the brakes on her car. I handed her an impact driver with a 19mm socket and had her remove the lug nuts. She managed to get seven of the eight off, but was having trouble with the last one.
I laughed and shook my head and wondered how was it possible to mess up something as simple as removing a lug nut with an impact drive?. I took the driver from her and quickly. . .realized the lug nut was stuck. It was really stuck. It was so stuck that I finally lowered the car back to the ground and put a breaker bar and a 24″ extenstion on it.
Archimedes helped me again. With a long enough lever, I was able to put enough torque on the bolt that something had to give. It broke. The stud broke off inside the nut.
My simple “check the brakes” exercise, as so often happens, had turned into something more involved.
If you’ve ever changed a tire, you know that your wheels are secured to your car with lug nuts. What you might not know is that the bolts that the lug nuts attach to are called “studs.” Some cars have four studs for each wheel. Cars with more powerful engines typically have five studs per wheel. Pickup trucks might have six or eight studs. Semi-trucks can have twelve.
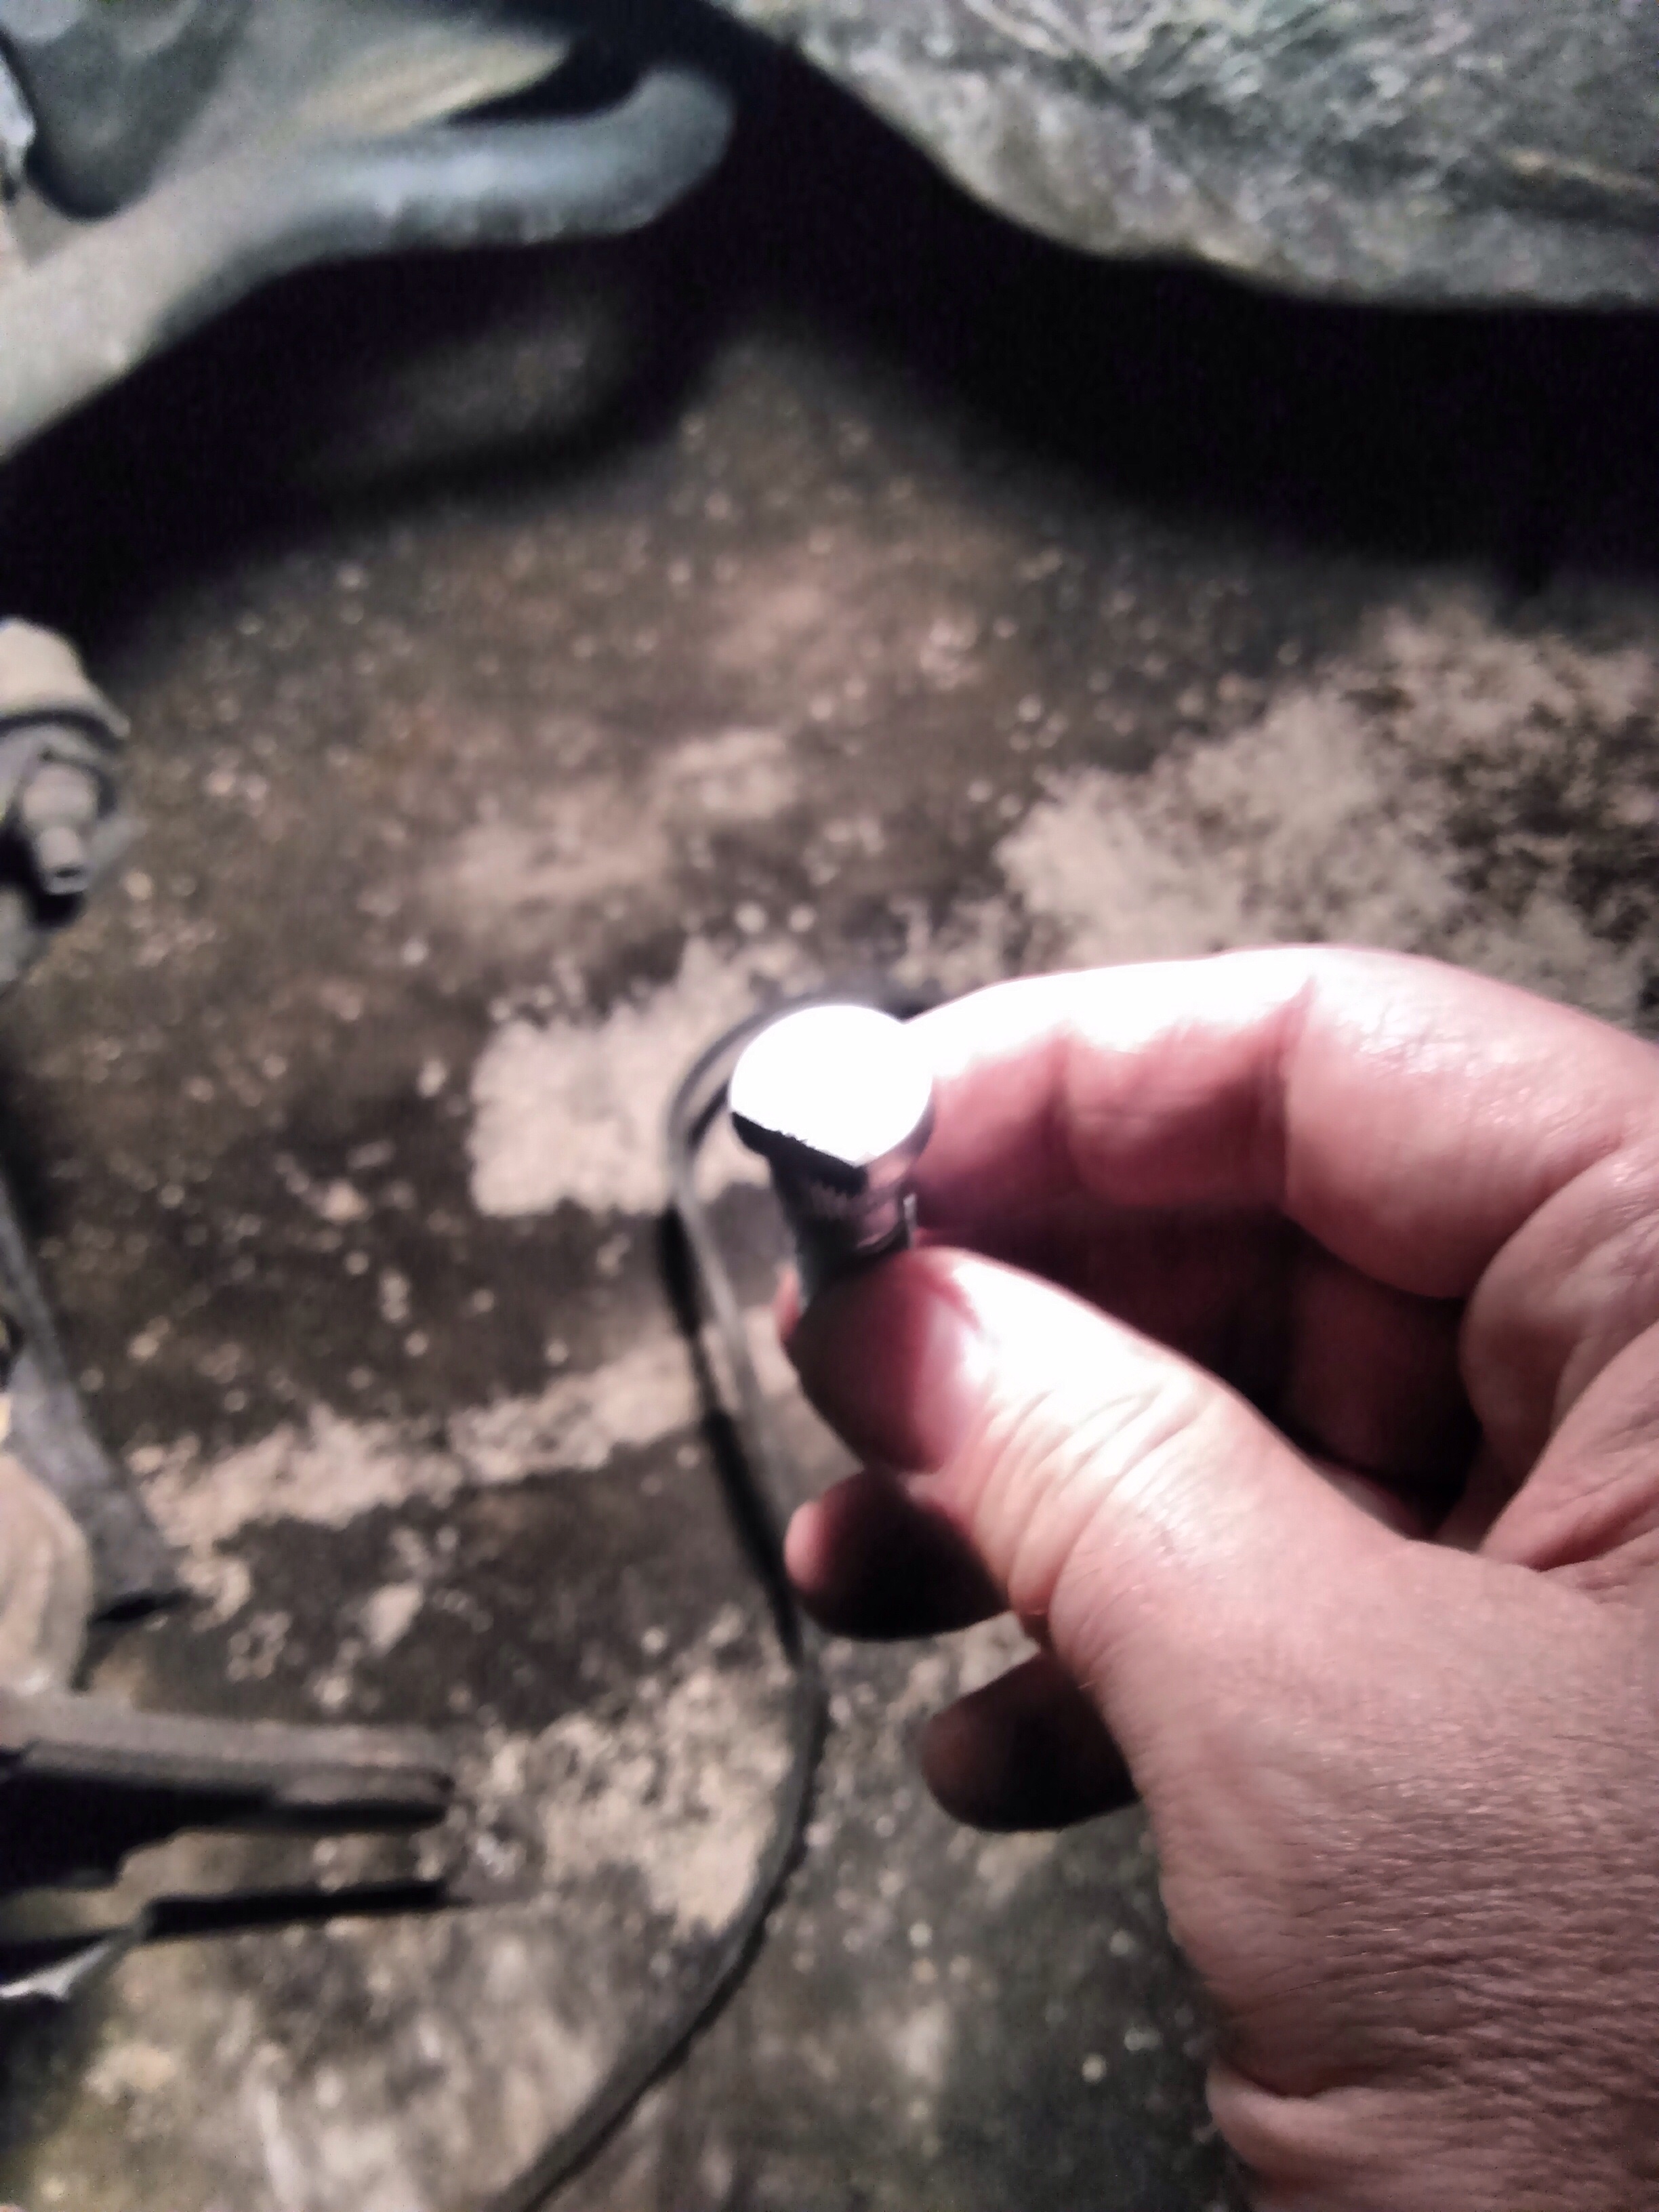
And I had just broken one of these studs. If your car has four studs, it’s really not a good idea to run with only three. I wasn’t worried. I have replaced studs on cars before. The stud is a pretty simple setup. It presses through from the back of the metal hub. The lug nuts secure the wheel to the rotor and the hub. It’s one of the simplest repairs you can do. Mostly you do it with a hammer. You pound it out and then you pound the new one in.
With the stubborn stud now effectively neutered, I jacked up the car again and removed the wheel. Next the brake caliper came off. (They didn’t need to be replaced after all.) Next, I had to remove two screws that secured the rotor (that big metal dinner plate looking thing you see when you change a tire) to the hub.
Now, all that was left was to pound out the old stud and replace it with the new one. I got out my one-handed sledge and started pounding on the stud. And, like the stubborn lug nut earlier, it wasn’t going anywhere. I didn’t have great visibility behind the hub, but it appeared there wasn’t enough room to pound out the stud.
That couldn’t be right.
So, I went to the movies. YouTube is a backyard mechanic’s best friend. I looked up how to replace a stud on a 2001 Honda Civic. (Yes, you can find literally any topic on car repair.) And it was here that I realized this would be unlike any repair I had ever done.
When you consult reference material, it’s a good idea to consult multiple sources. With car repairs that means you look at the professionals’ videos and the amateurs’ videos. In this case everyone was unanimous: you had to grind away part of the axle.
This made no sense. Grinders are for fixing mistakes, not for repairs. There was no way this could be the proper method. You don’t grind down portions of your car. But, the more I looked, the more convinced I became that this really was the suggested method for installing a stud in a 2001 Honda Civic.
So, with great trepidation, I put on my face shield and took a grinder to the left front axle of my daughter’s Honda Civic.
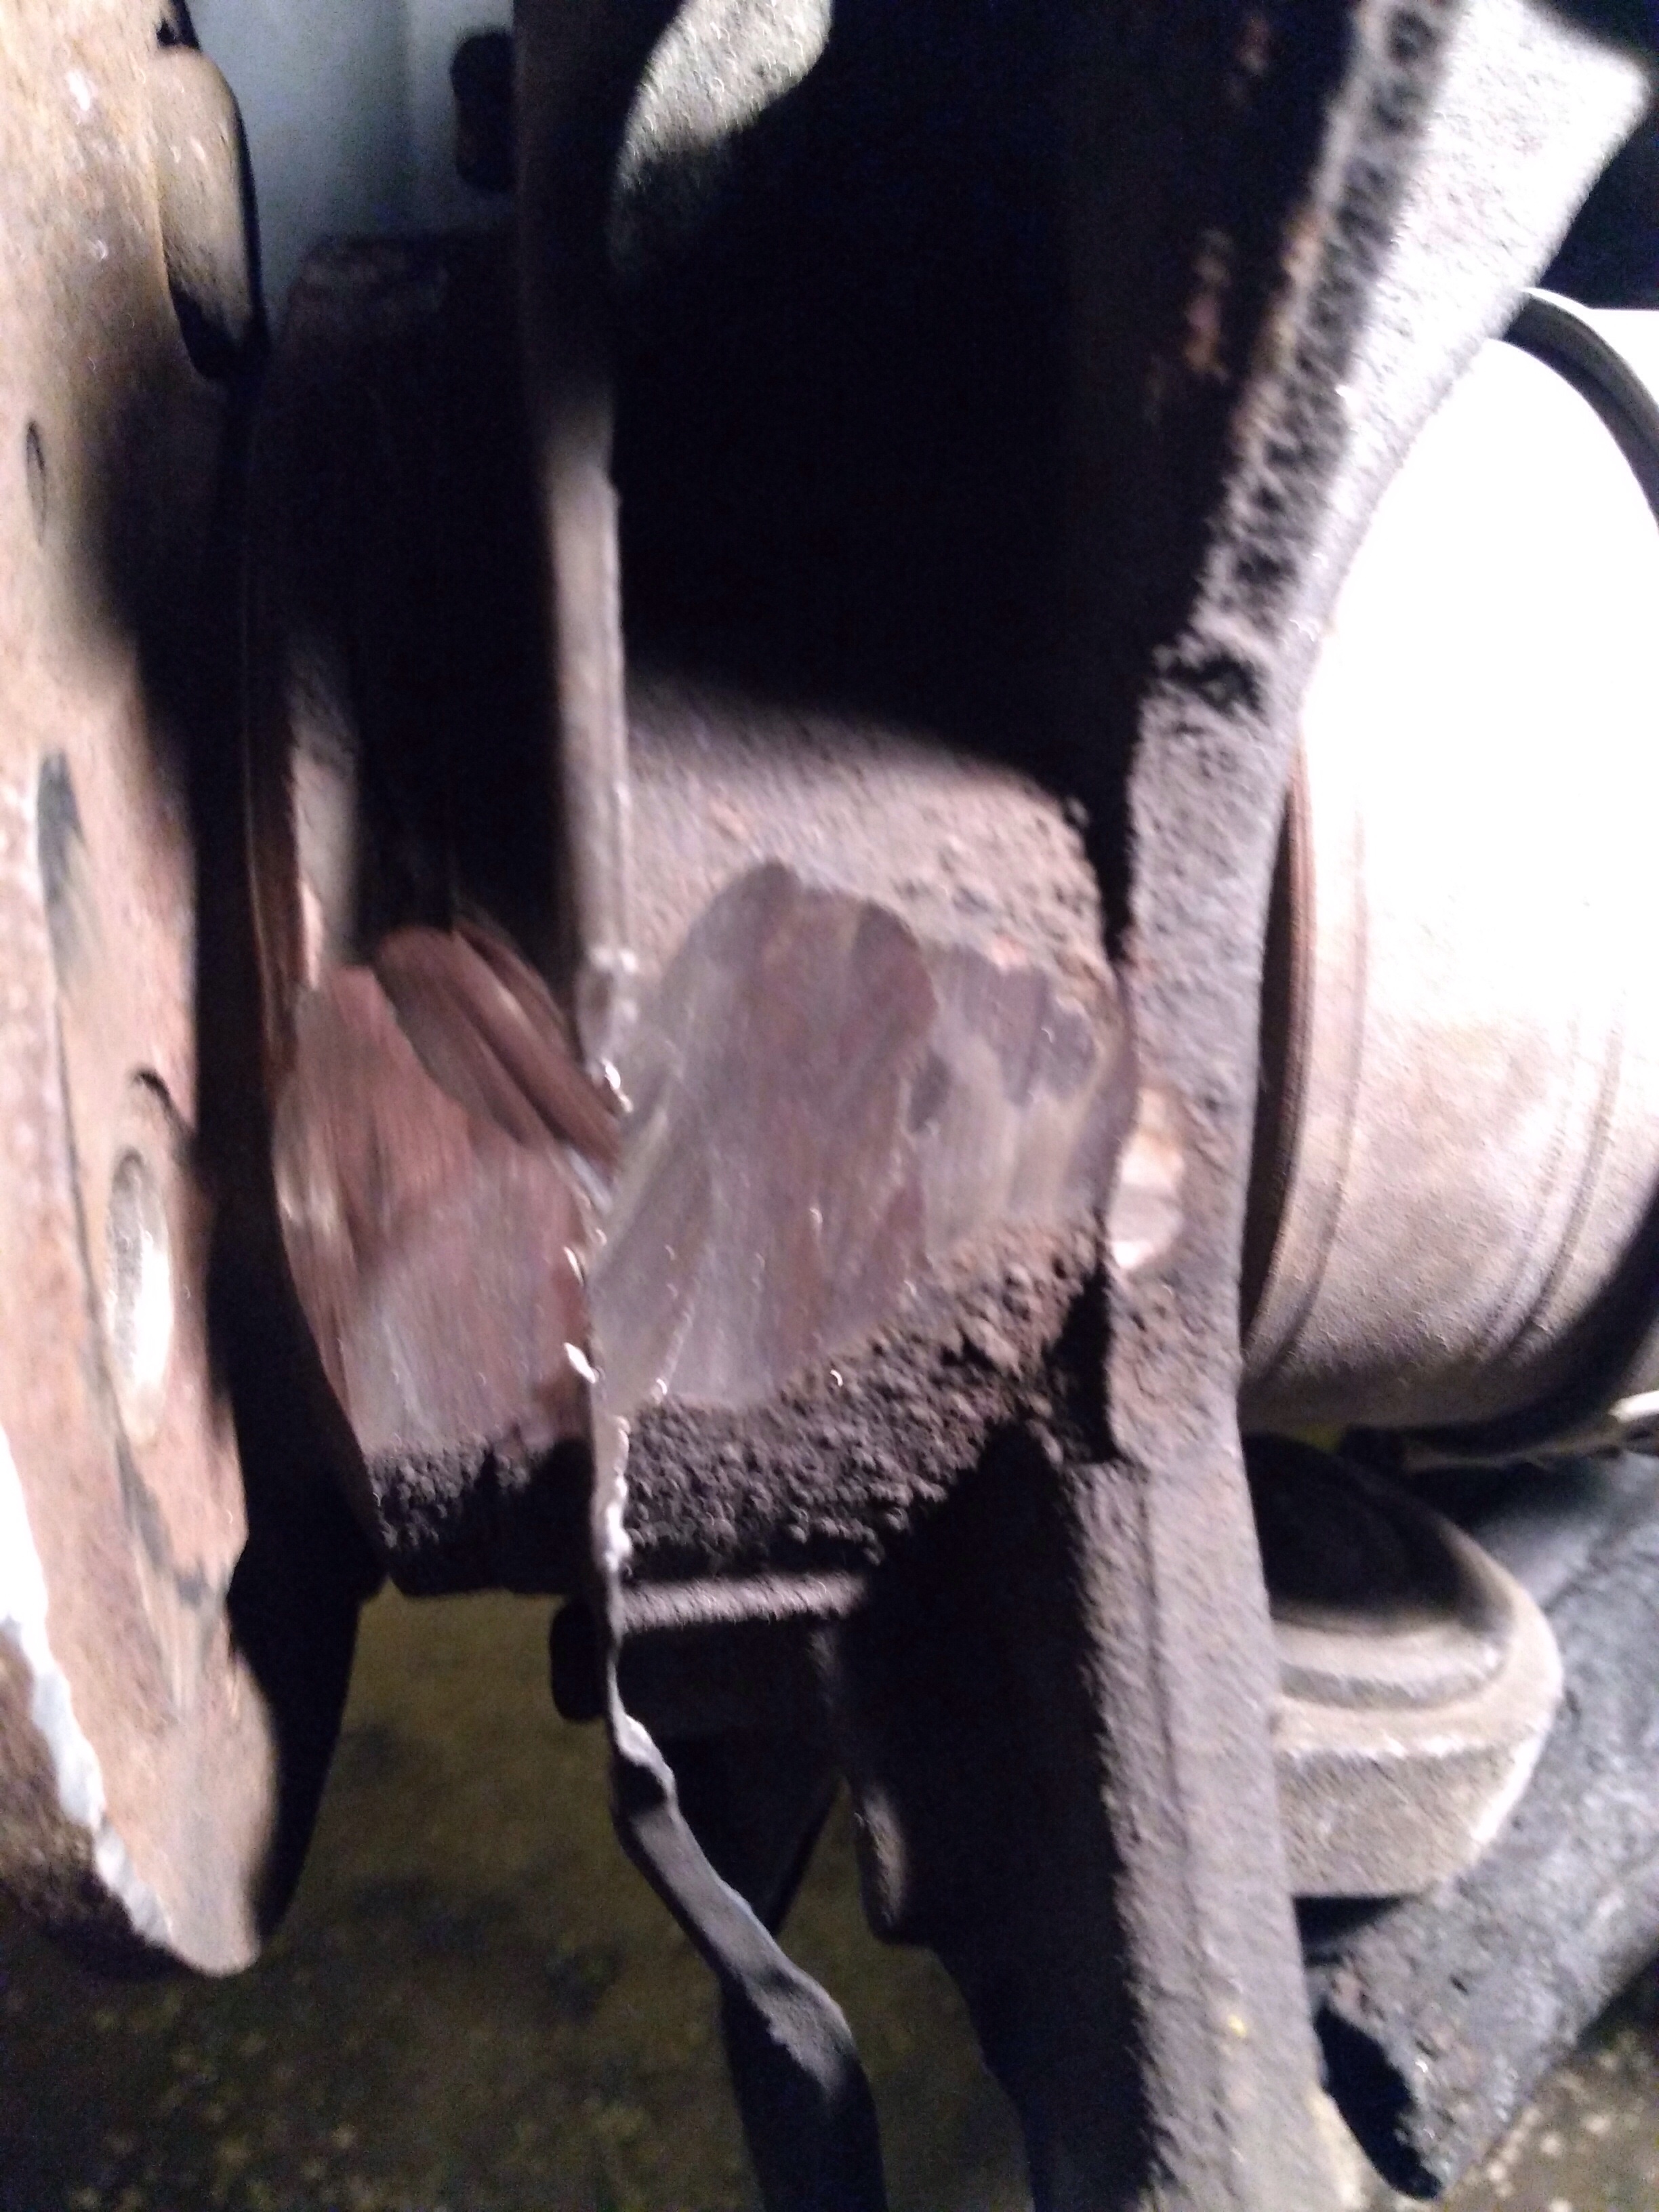
I ground down the axle. . .It felt really, really wrong!
I also ground down the side of the stud, to make it fit easier.
It took a long time and many starts and stops to finally get just enough of the axle ground down for the stud to fit.
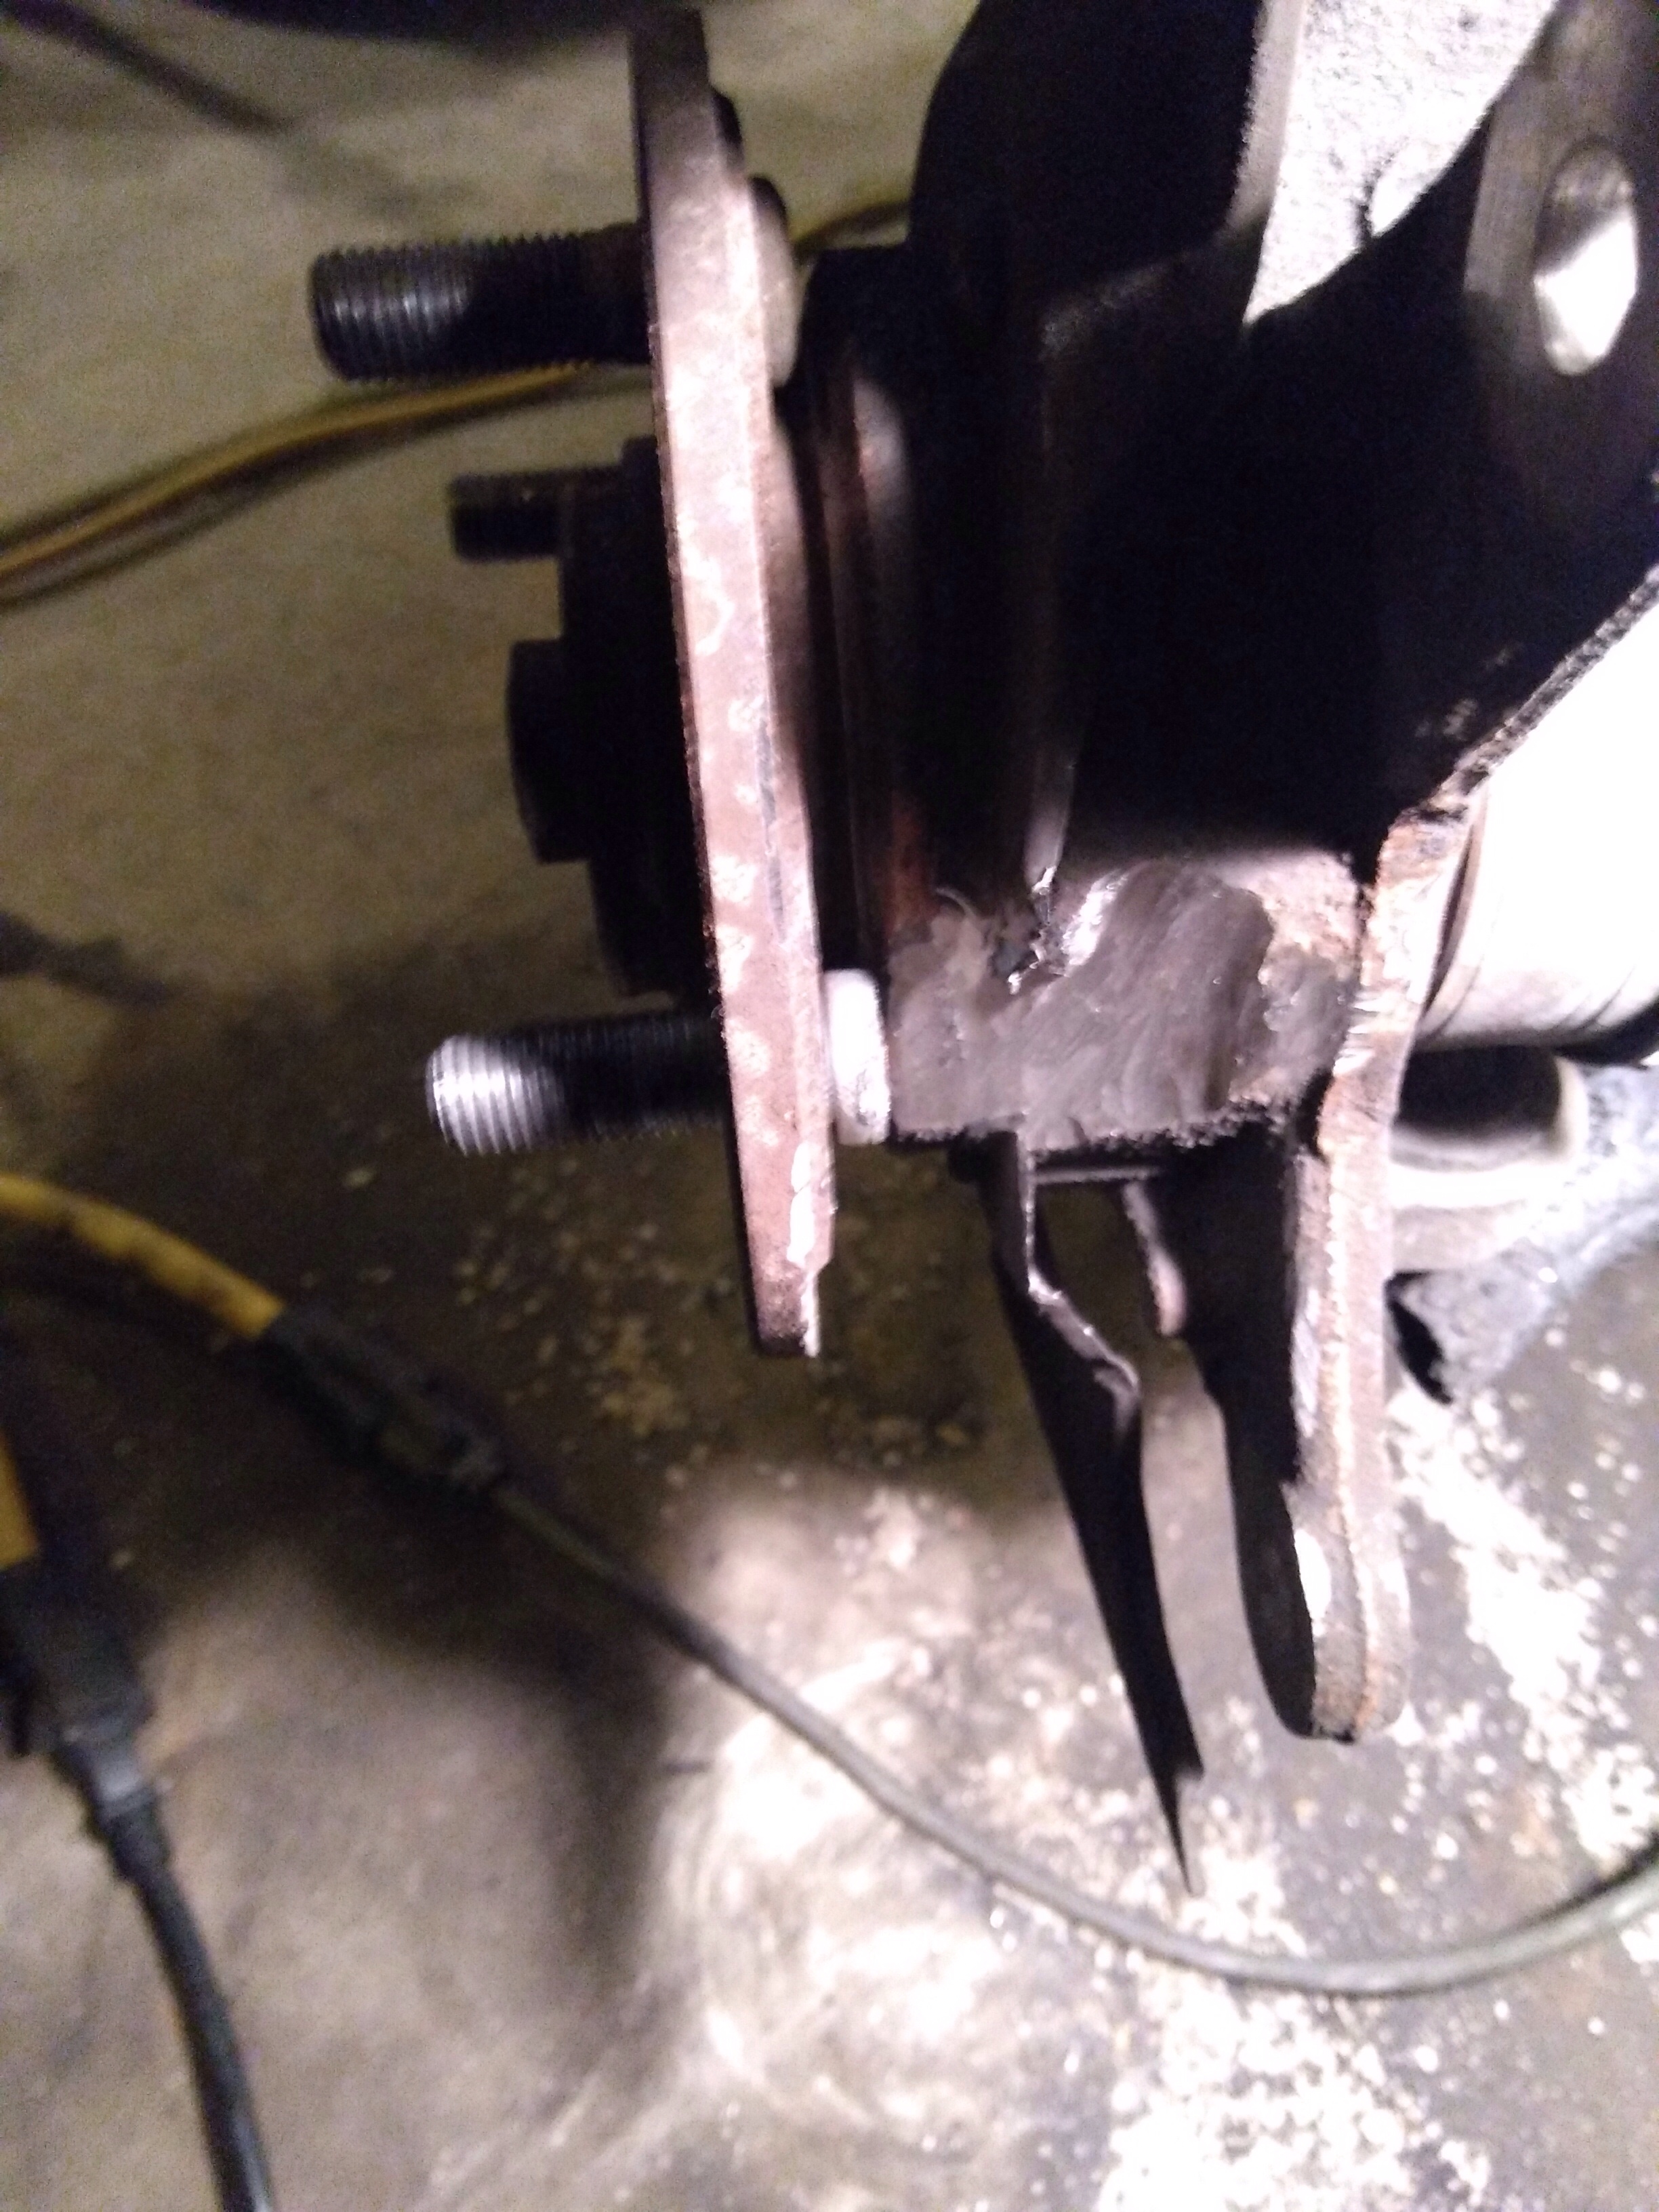
Success. . .but it still felt like a mistake
The test drive went smoothly. The repair was complete. But, I just couldn’t shake the idea that I’d broken the car to fix the car.
Rodney M Bliss is an author, columnist and IT Consultant. His blog updates every weekday. He lives in Pleasant Grove, UT with his lovely wife, thirteen children and grandchildren.
Follow him on
Twitter (@rodneymbliss)
Facebook (www.facebook.com/rbliss)
LinkedIn (www.LinkedIn.com/in/rbliss)
or email him at rbliss at msn dot com(c) 2018 Rodney M Bliss, all rights reserved
